How to create a Binance account step by step
Binance supports a vast number of cryptocurrencies, and its ability to secure rapid exchange between fiat and volatile coins make it a popular choice for many crypto users.
So, if that combination of crypto support and fast transactions times piques your interest, it's time to make your first Binance account. Read on for a handy guide throught the Binance account creation process on its mobile and web app, including tips to help smooth your account verification.
Requirements for Creating a Binance Account
To complete your Binance account registration, you'll need to complete the verification stage (KYC, an acronym for "know your customer"). The credentials required for KYC by Binance vary from region to region and depend on account type.
However, if you live in the US, any of the following documents will enable you to pass Binance's KYC:
- A valid passport.
- Government-issued ID.
- Driver's license.
- PAN card or your social security number.
- Your voter's ID.
You can create a Binance account via the mobile or web app (on your desktop). Although the process is pretty much the same on both platforms, we'll go through the steps for both.
How to Create a Binance Account on the Mobile App
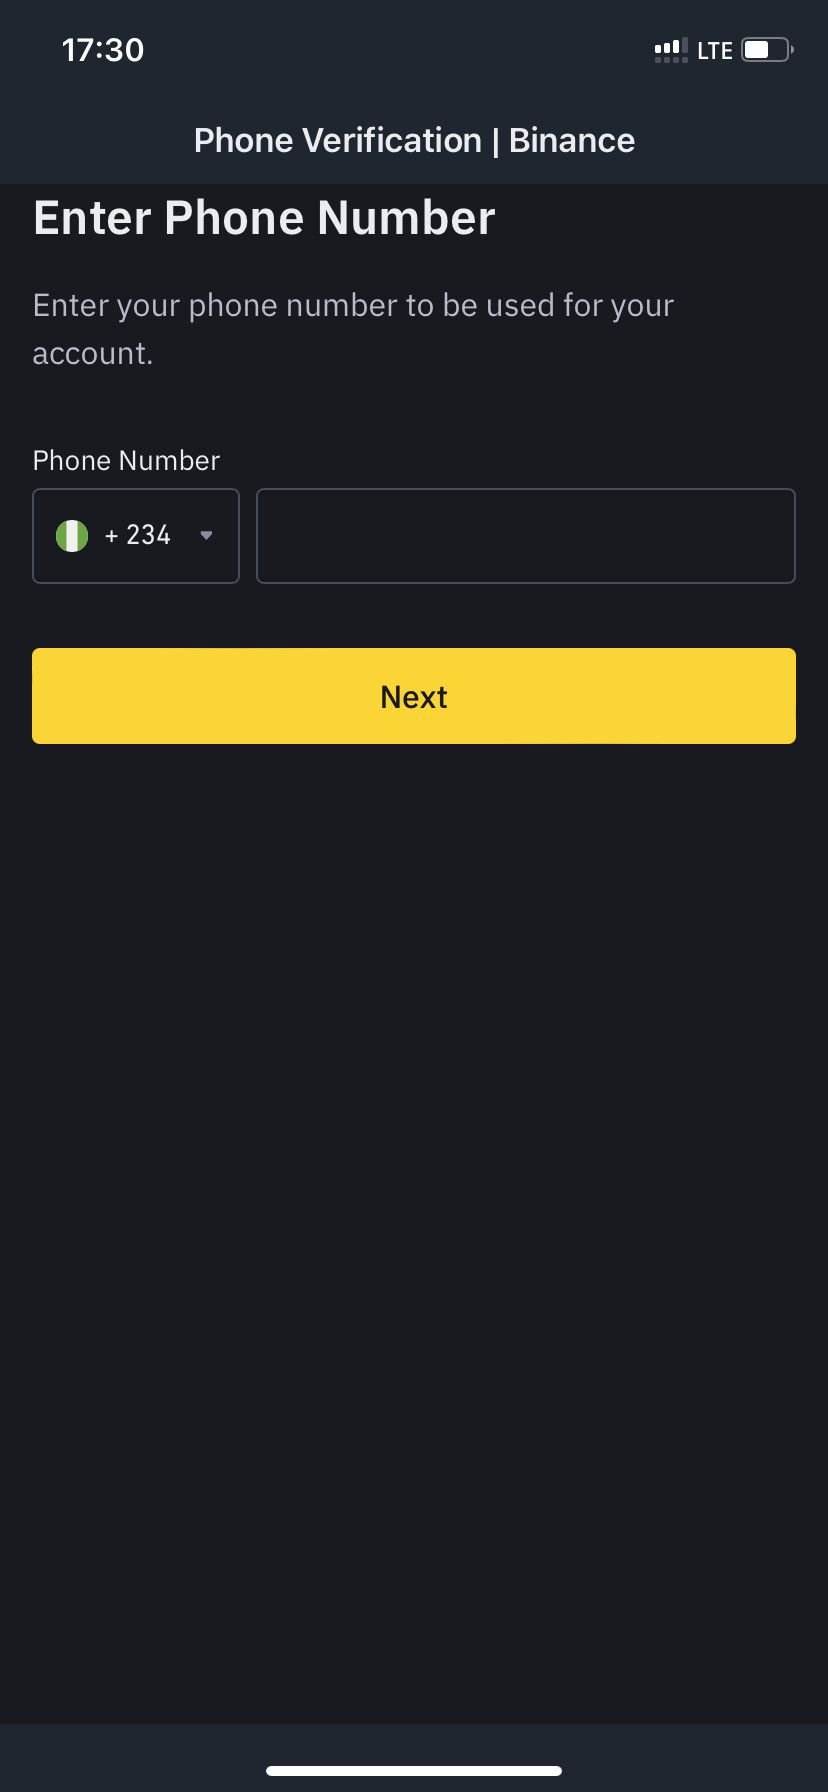
There are several ways to create an account on Binance. You can do so via your email address, phone number, or Google account. And if you use Mac or iPhone, you can register via your Apple ID. The email address option is better since it's more inclusive.
To start registration on the mobile app, install Binance on your smartphone via the Play Store or App Store if you've not done so already.
Download: Binance for Android | iOS (Free)
Open the mobile app and follow these instructions:
- Tap Sign Up at the top-left. Then select Sign up with phone or email.
- Next, select your country of residence from the Country/Area of Residence dropdown.
- Select Create Personal Account.
Next:
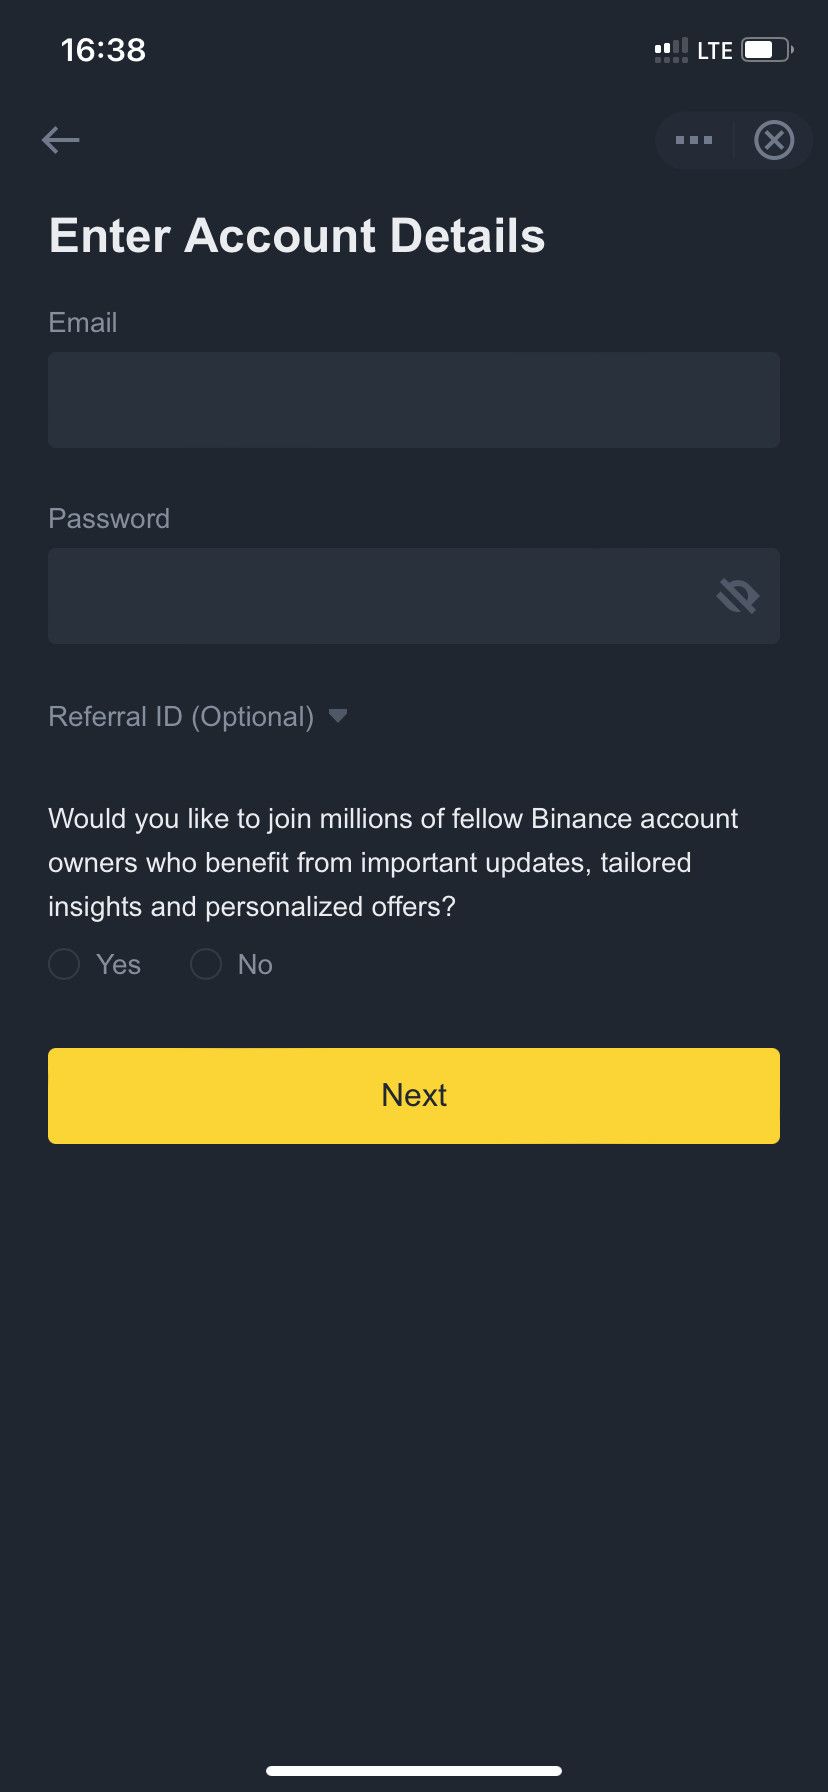
- Provide your email address and password and tap Next. Choose Yes or No towards the bottom of the screen to receive Binance updates or not.
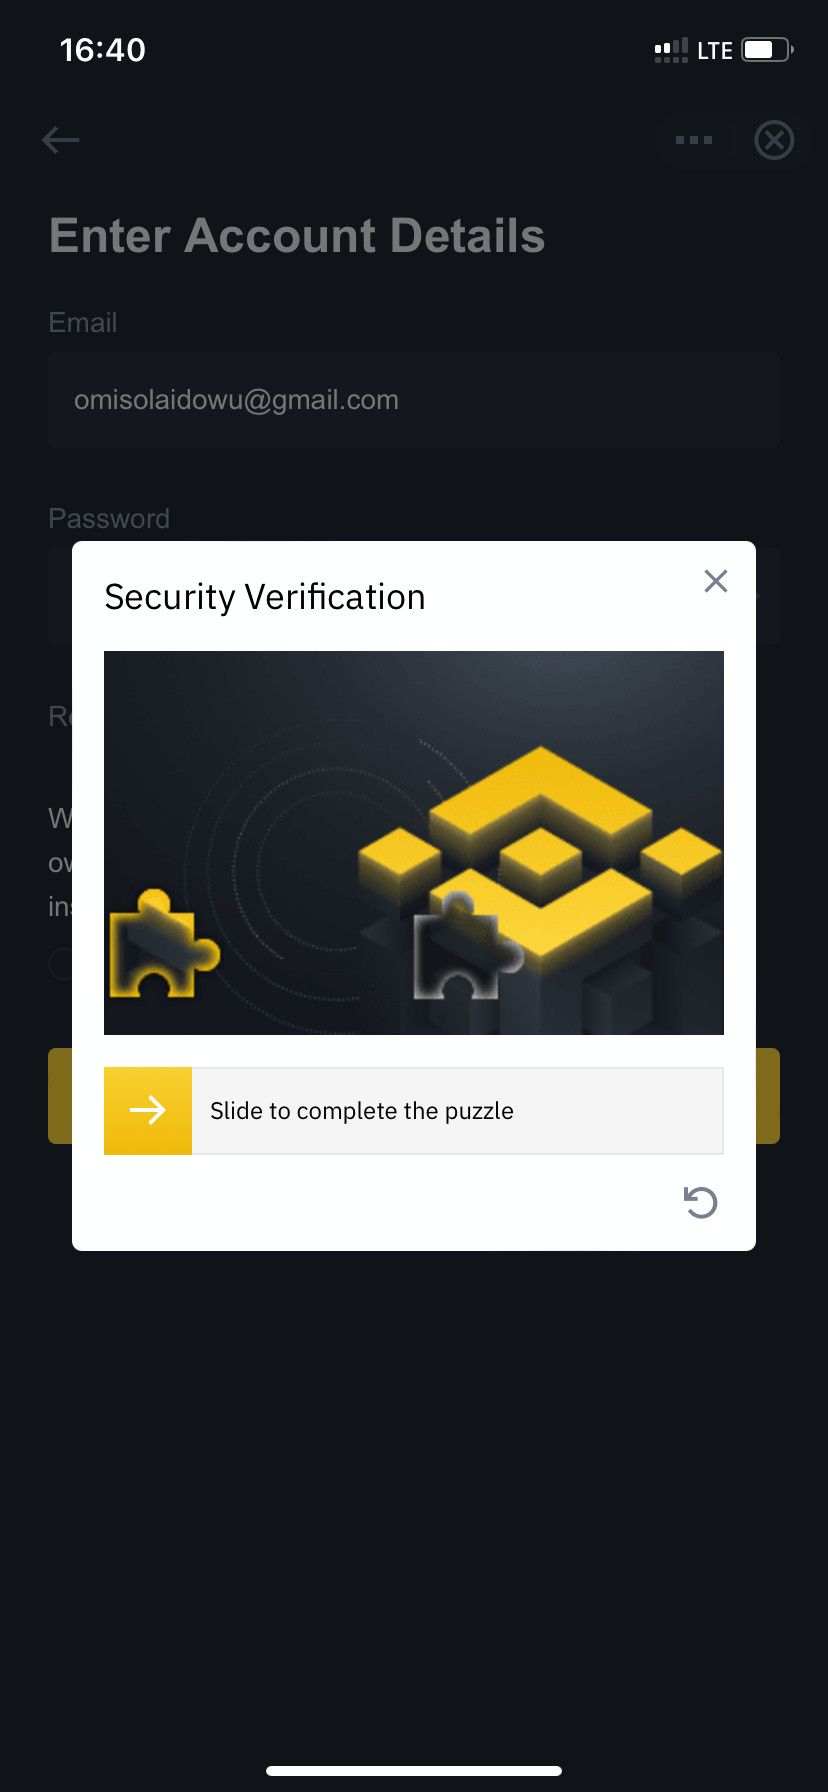
- You might get a security check screen. Complete it by sliding the lock into place.
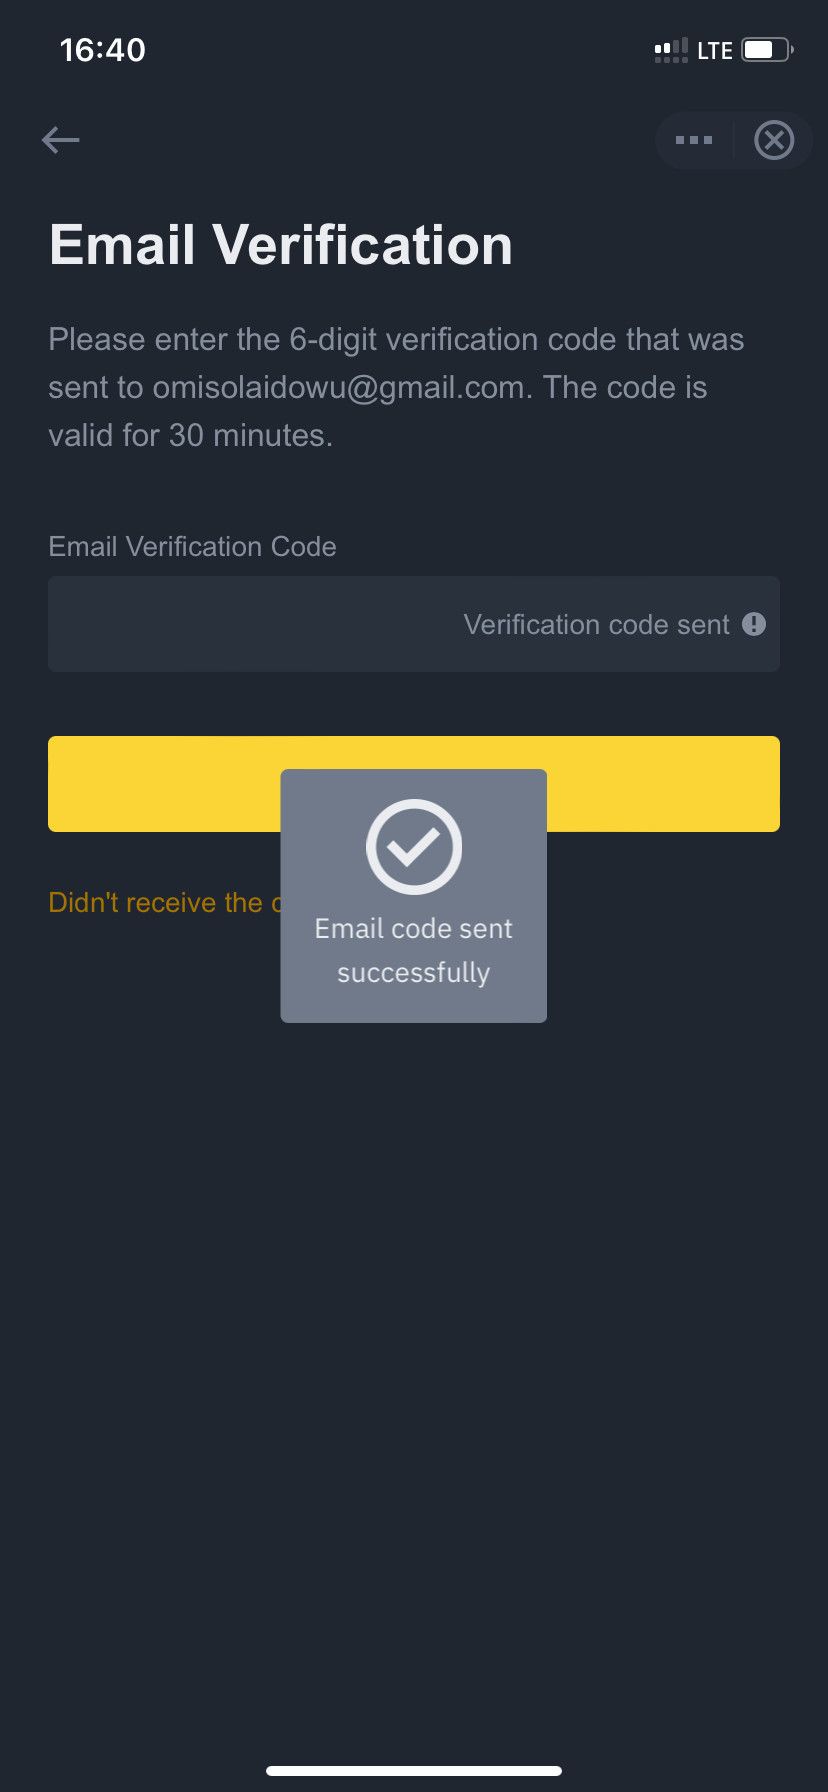
- Now check your mail inbox for the Binance email verification code. Copy and paste it inside the Email Verification Code field. Then hit Next.
- If prompted, tap Enable to allow biometric authentication for Binance.
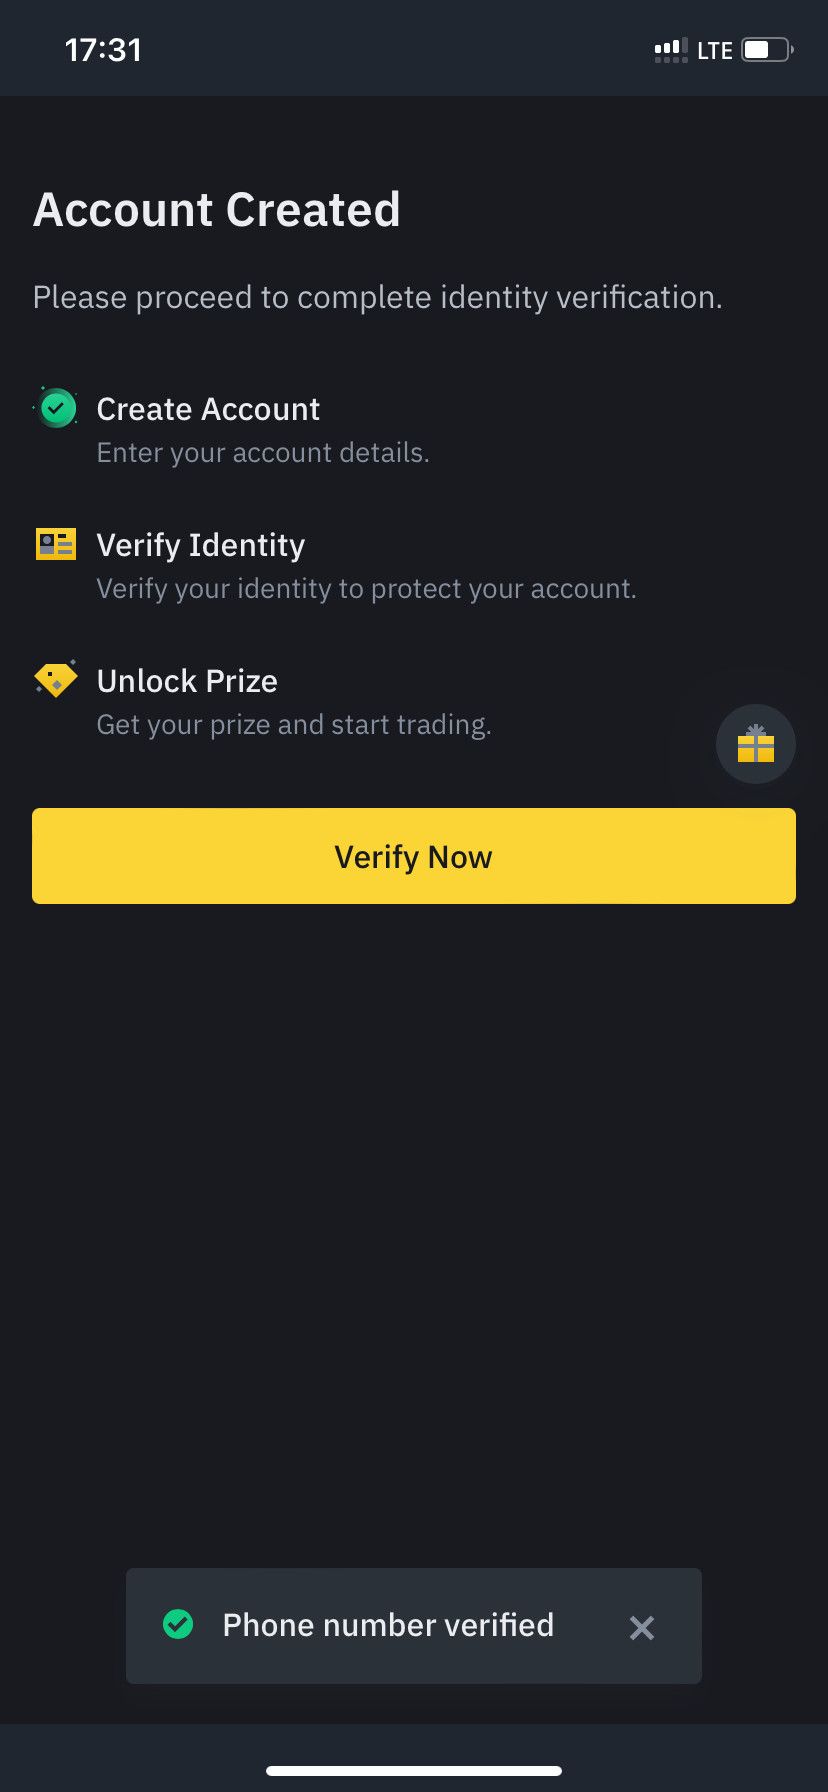
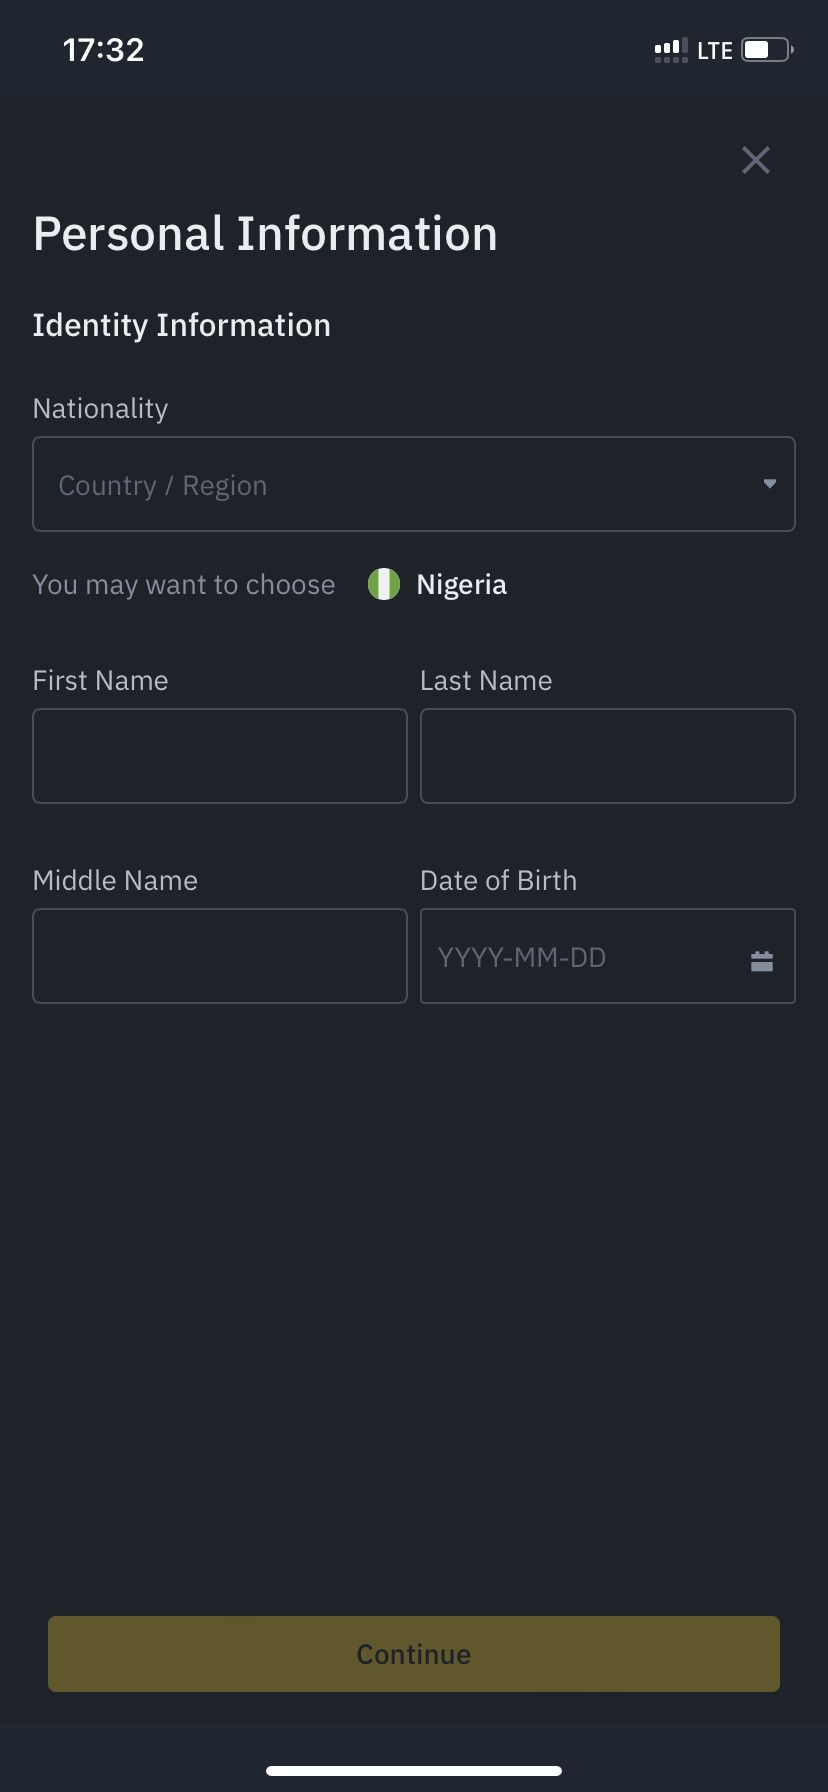
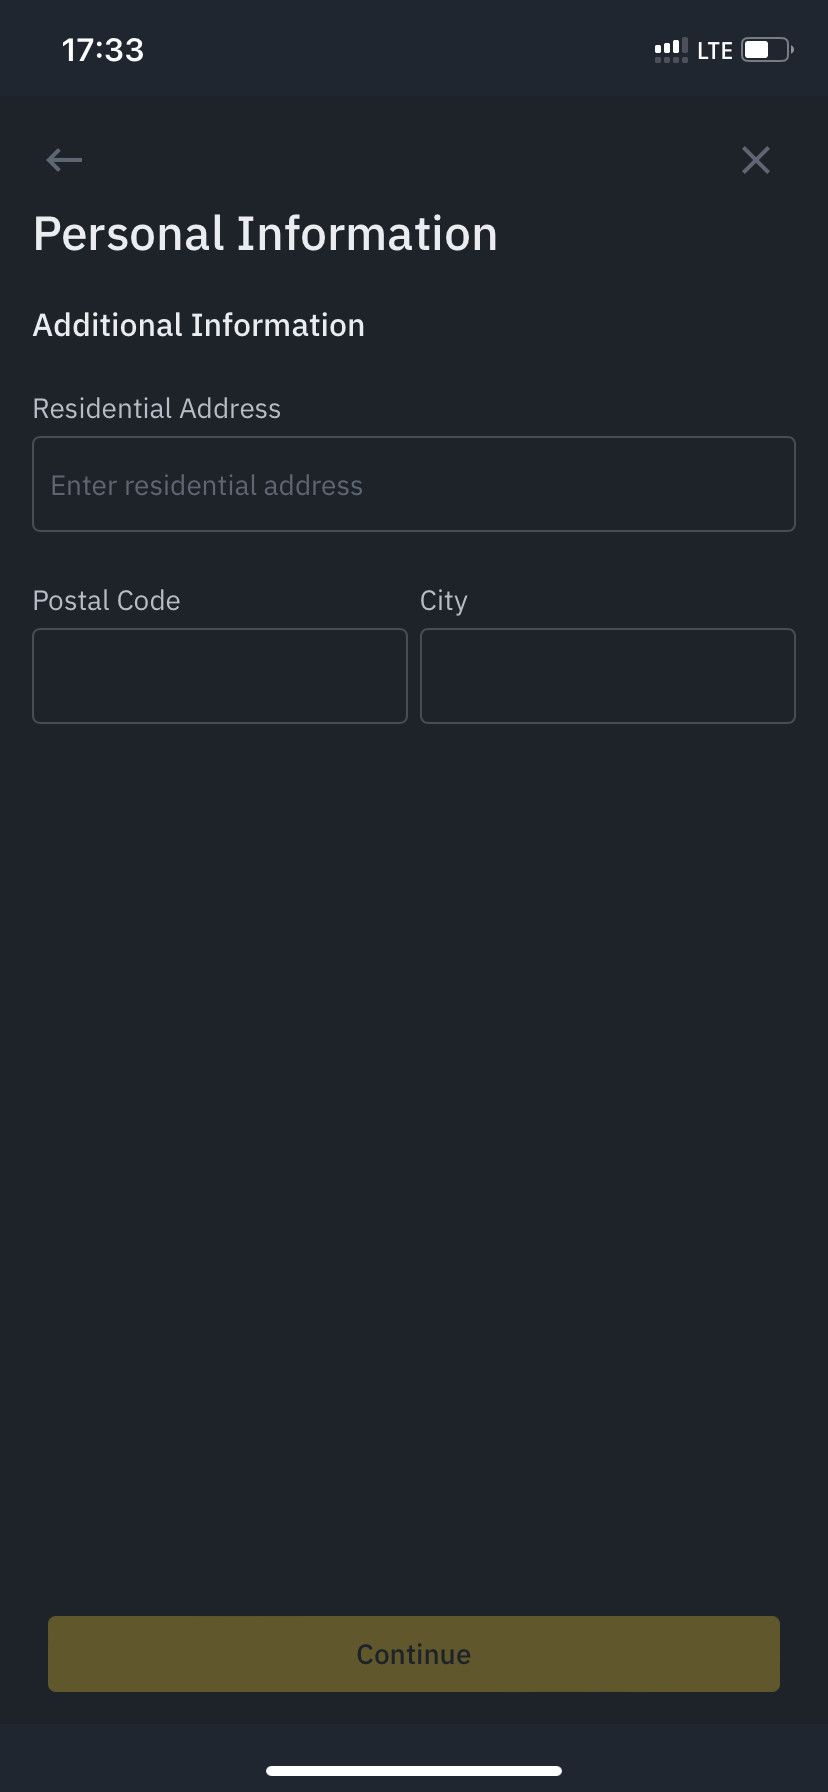
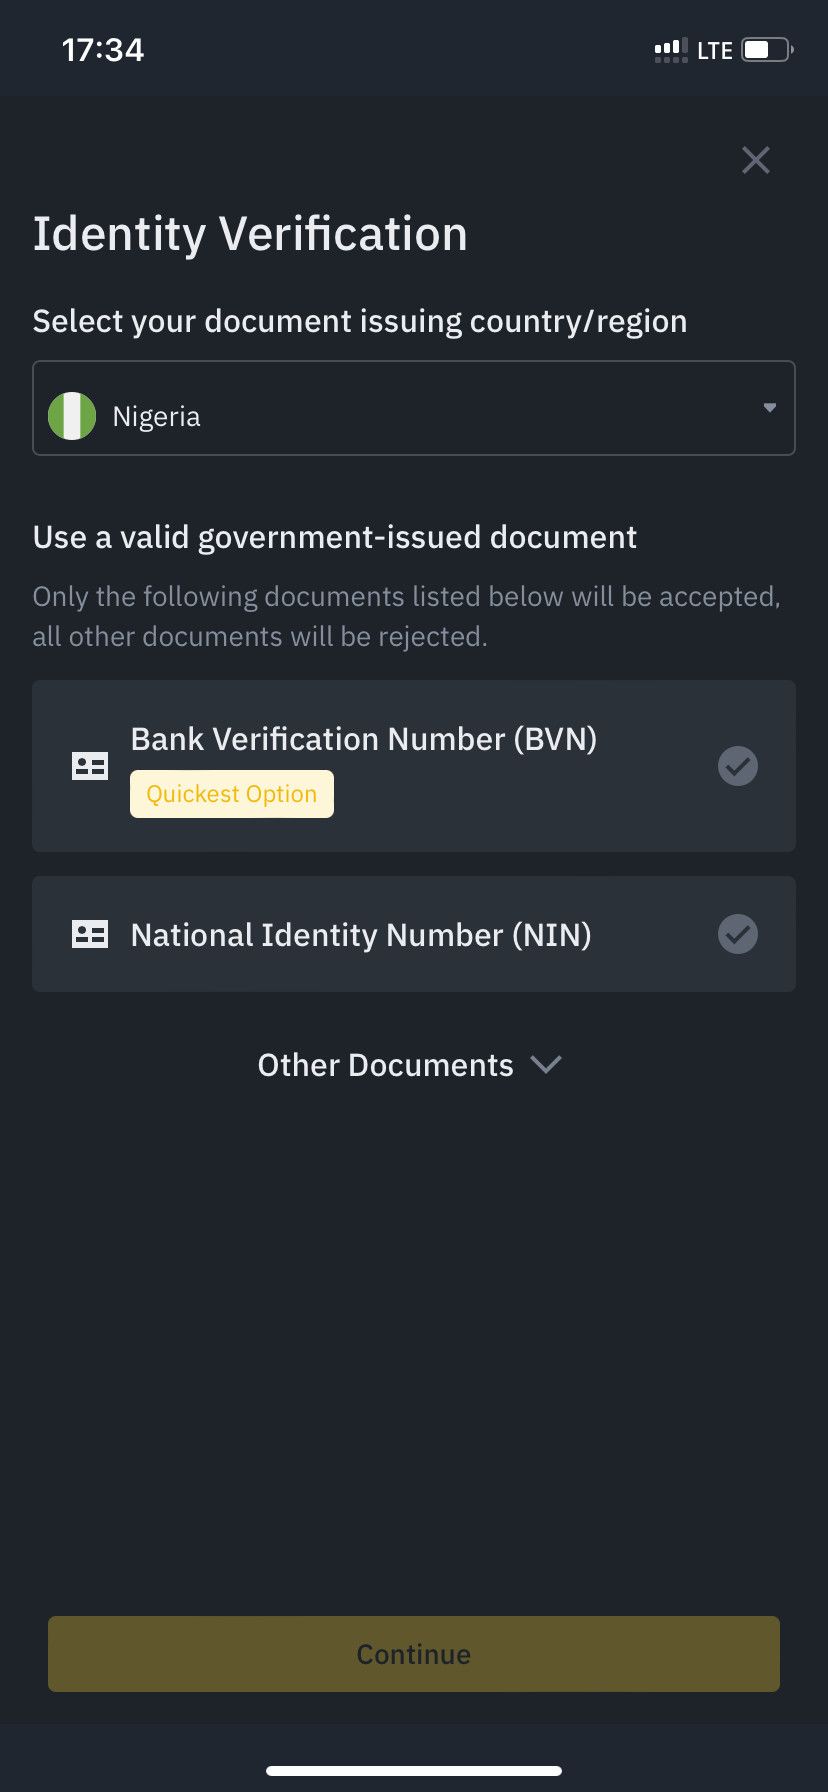


Thanks alot
ReplyDelete